ubuntu安装OracleJdk
配置jdk
进入/usr/local/bin目录cd /usr/local/bin,创建一个java目录,mkdir java,进入java目录,cd java,下载jdk
这里使用华为云的镜像站,速度较快
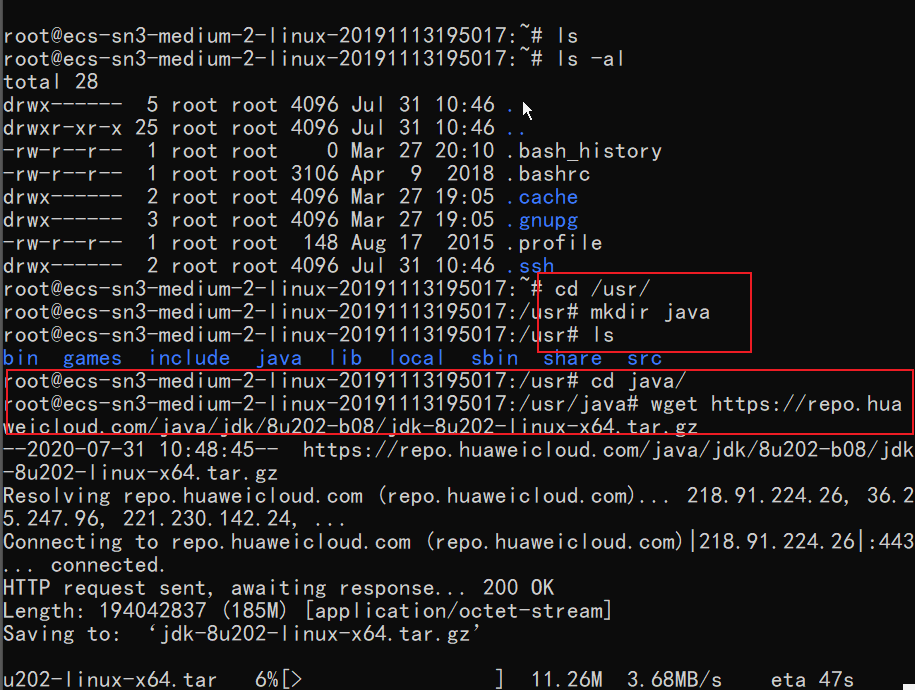
wget https://repo.huaweicloud.com/java/jdk/8u202-b08/jdk-8u202-linux-x64.tar.gz解压压缩包
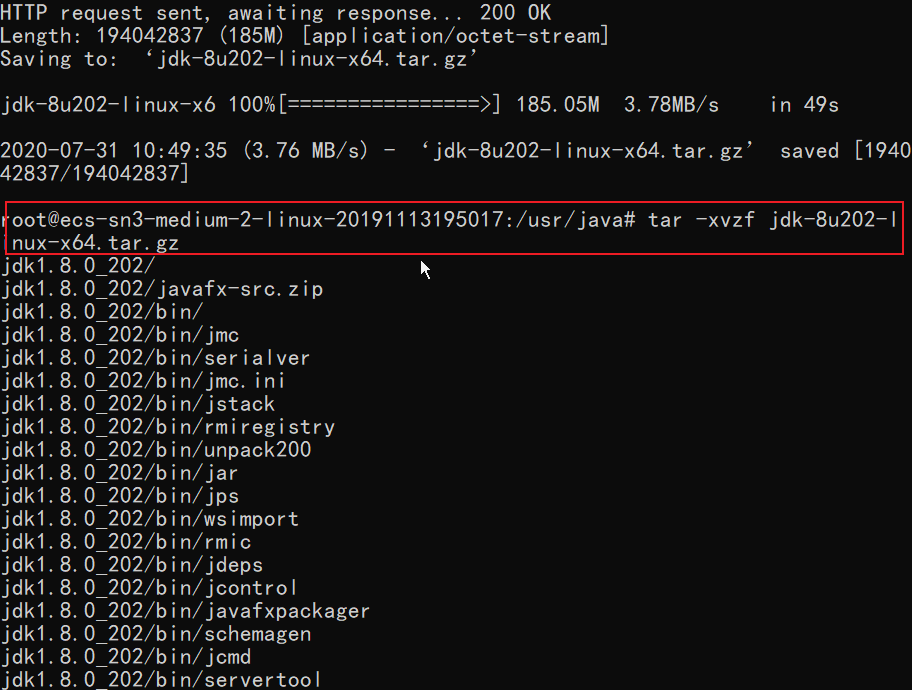
tar -xvzf jdk-8u202-linux-x64.tar.gz删除压缩包
rm -rf jdk-8u202-linux-x64.tar.gz设置环境变量
没有vim的安装一下就可以sudo apt install vim进行安装
打开profile这个文件后,按字母i是插入,按i后左下角会显示insert,插入完成后,按esc,insert会消失,再输入:wq完成
注:如果不懂vim的操作的话,直接用管理员权限在终端中输入这几个重定向
echo 'export JAVA_HOME=/usr/local/bin/java/jdk1.8.0_202' >> /etc/profile
echo 'export JRE_HOME=${JAVA_HOME}/jre'   >> /etc/profile
echo 'export CLASSPATH=.:${JAVA_HOME}/lib:${JRE_HOME}/lib' >> /etc/profile
echo 'export PATH=$PATH:${JAVA_HOME}/bin' >> /etc/profilevim操作:
vim /etc/profile在文件末尾追加以下内容:
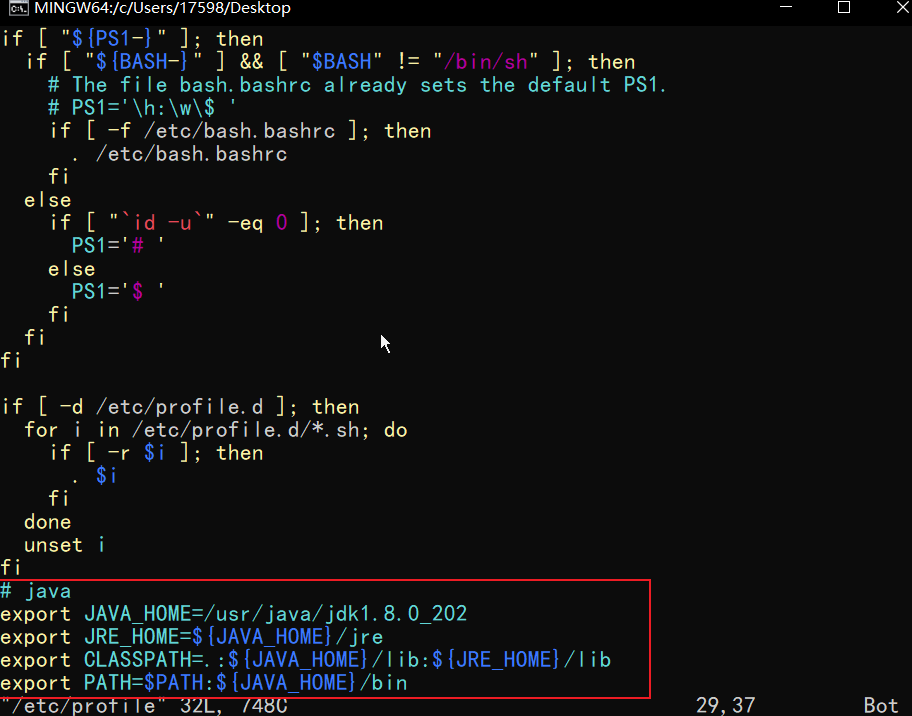
export JAVA_HOME=/usr/local/bin/java/jdk1.8.0_202 export JRE_HOME=${JAVA_HOME}/jre export CLASSPATH=.:${JAVA_HOME}/lib:${JRE_HOME}/lib export PATH=$PATH:${JAVA_HOME}/bin 更新配置信息
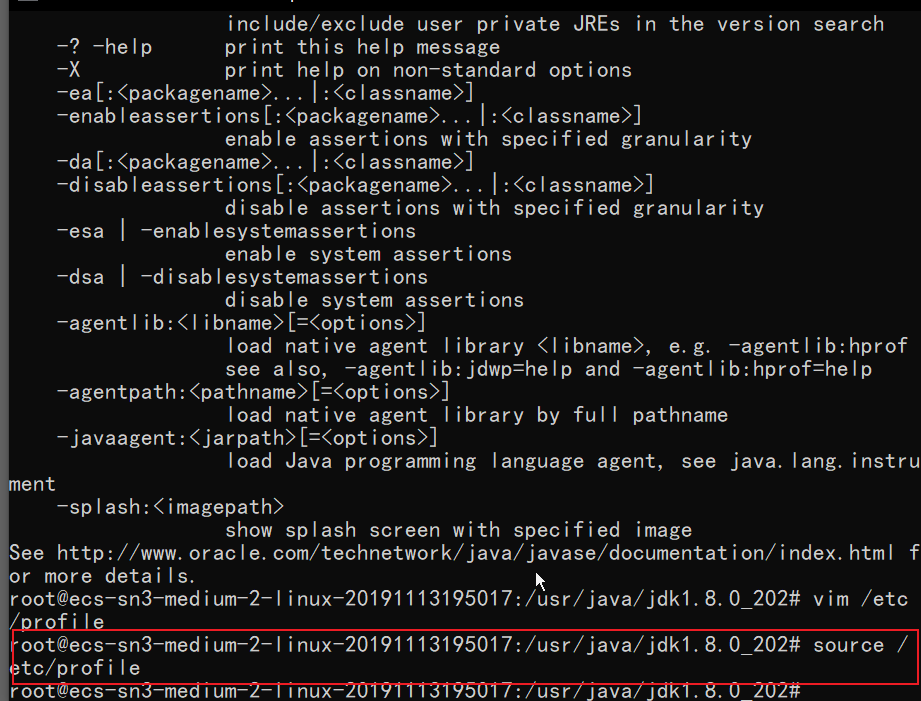
source /etc/profile测试jdk是否安装成功
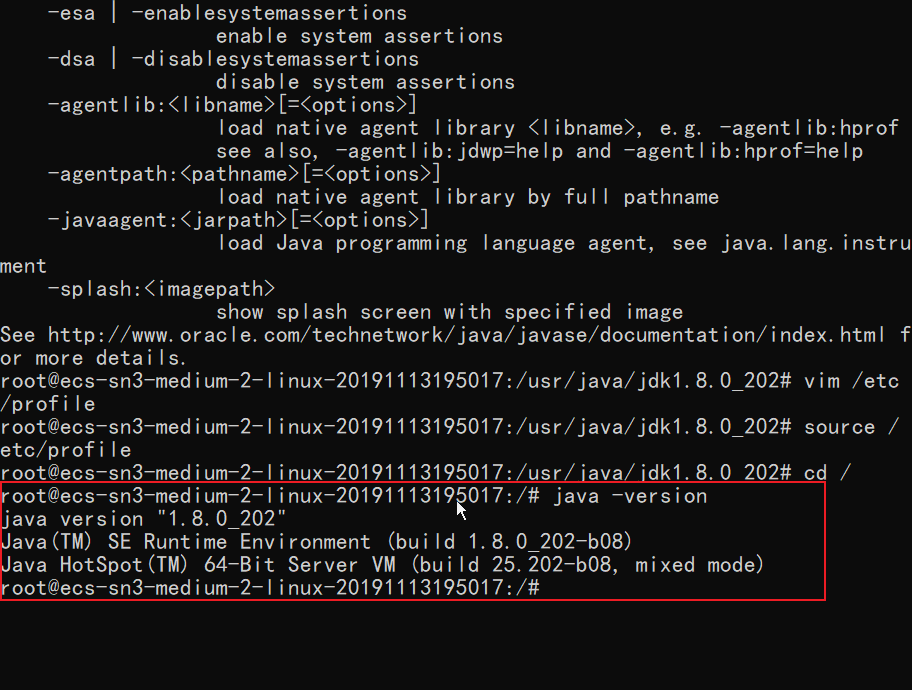
java -versionjava version "1.8.0_202"
Java(TM) SE Runtime Environment (build 1.8.0_202-b08)
Java HotSpot(TM) 64-Bit Server VM (build 25.202-b08, mixed mode) 到此,Ubuntu安装OracleJdk就成功了。
配置mysql
下载mysql:
sudo apt update
sudo apt install mysql-server配置mysql:
sudo mysql_secure_installation#1
VALIDATE PASSWORD PLUGIN can be used to test passwords...
Press y|Y for Yes, any other key for No: N (我的选项)
#2
Please set the password for root here...
New password: (输入密码)
Re-enter new password: (重复输入)
#3
By default, a MySQL installation has an anonymous user,
allowing anyone to log into MySQL without having to have
a user account created for them...
Remove anonymous users? (Press y|Y for Yes, any other key for No) : N (我的选项)
#4
Normally, root should only be allowed to connect from
'localhost'. This ensures that someone cannot guess at
the root password from the network...
Disallow root login remotely? (Press y|Y for Yes, any other key for No) : N (我的选项)
#5
By default, MySQL comes with a database named 'test' that
anyone can access...
Remove test database and access to it? (Press y|Y for Yes, any other key for No) : Y (我的选项)
#6
Reloading the privilege tables will ensure that all changes
made so far will take effect immediately.
Reload privilege tables now? (Press y|Y for Yes, any other key for No) : Y (我的选项)查看mysql状态:
systemctl status mysql.service如果显示active(running)则正常
配置远程访问:
sudo vim /etc/mysql/mysql.conf.d/mysqld.cnf 编辑这个文件,将其中的bind-address = 127.0.0.1这句话前面加个#,注释掉
刷新权限,进入mysql后:
grant all on *.* to root@'%' identified by '你的密码' with grant option;
flush privileges;
重启mysql
systemctl restart mysql.service配置tomcat
下载tomcat
这里我用的是9.x版本的tomcat,进 /usr/local/bin目录:
wget https://mirrors.tuna.tsinghua.edu.cn/apache/tomcat/tomcat-9/v9.0.36/bin/apache-tomcat-9.0.36.tar.gz将下载好的tomcat压缩包解压:
tar -xvzf apache-tomcat-9.0.36.tar.gz重命名tomcat
mv apache-tomcat-9.0.36.tar.gz tomcat启动 tomcat
./usr/local/bin/tomcat/bin/startup.shtomcat配置就搞定了

